Soil Amendments
When it comes to improving garden soil, it’s tempting to try every tip or product you stumble across online. But not all amendments are as helpful as they seem. In fact, certain additives can do more harm than good, even if they’re recommended by experienced gardeners. I’ll walk you through three soil amendments you should avoid, no matter how appealing they might seem. Your garden—and your plants—will thank you.
If you want you can check our another post about Organic Fertilizer Recipes.
Micronutrients: Less is More
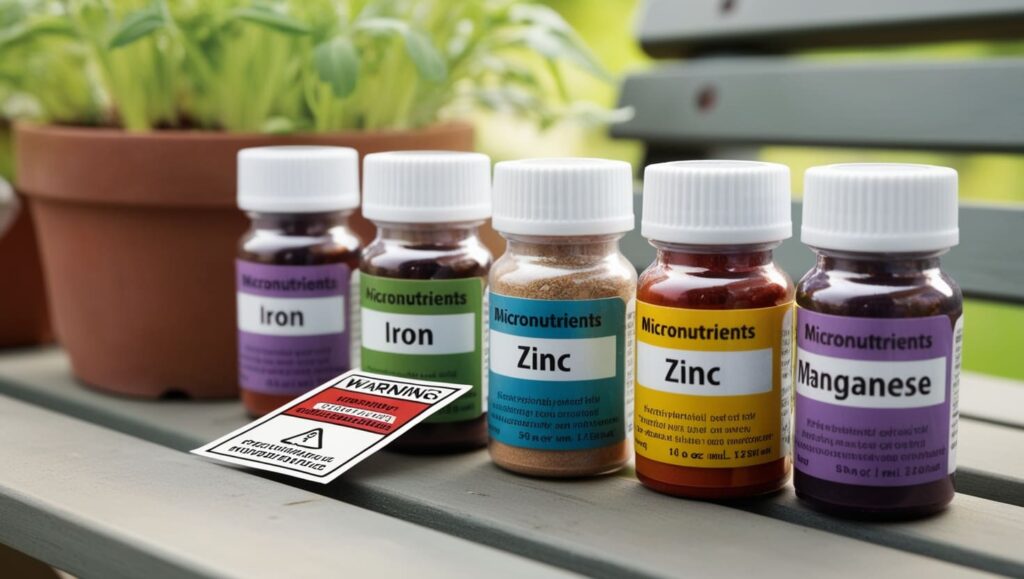
Micronutrients may sound like the secret sauce your plants are craving, but in most cases, you should steer clear of them unless you have a specific deficiency. It’s easy to think, “If a little is good, a lot must be better,” but that’s not how it works with micronutrients. Too much can actually poison your plants.
What Are Micronutrients?
Micronutrients are essential elements that plants need in trace amounts. The idea behind using micronutrient fertilizers is to supply these small but necessary elements to your soil. And while that might sound like a good thing, adding them without knowing whether your plants need them can lead to toxicity. Unlike macronutrients like nitrogen or potassium, micronutrients (such as iron, zinc, and manganese) are only required in tiny amounts. You can easily overdo it.
The Dangers of Over-Application
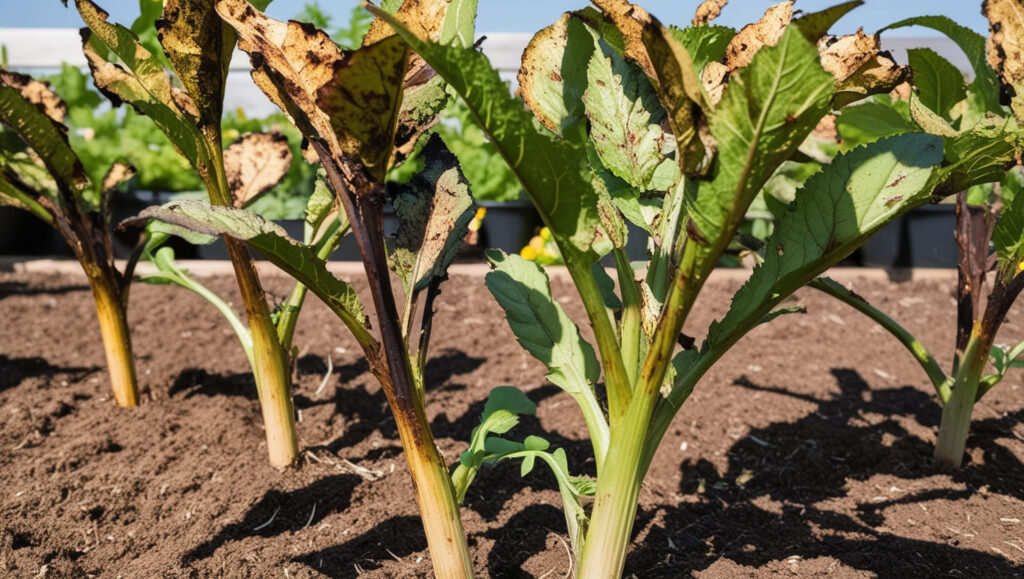
If you’ve ever seen plants with scorched or discolored leaves, you might be looking at symptoms of something called “fertilizer burn.” This happens when there’s too much of a certain nutrient, and funny enough, it’s usually caused by overapplying micronutrients. Overuse will harm your plants and put them at risk of long-term health issues.
Sometimes, it’s not even your fault. Micronutrients can accumulate naturally in your soil, especially if your soil has a sandy texture, lacks organic matter, or has been exposed to prolonged dryness. These conditions intensify the effect of excess micronutrients, causing damage even without additional fertilizers.
How to Fix Micronutrient Problems
If you’ve already gone overboard, or live in an area where soil is naturally stocked with excessive micronutrients, don’t panic. There are ways to mitigate the damage:
- Add charcoal, peat, or leaf mold to your soil. These materials act like sponges, reducing the bioavailability of harmful micronutrients in the soil.
- Use compost as a buffer, which not only helps with nutrient imbalances but also improves the overall health and structure of your soil.
Bottom line: Skip the micronutrient products unless a soil test confirms a deficiency. Your plants will be healthier for it.
Be Careful With Manure
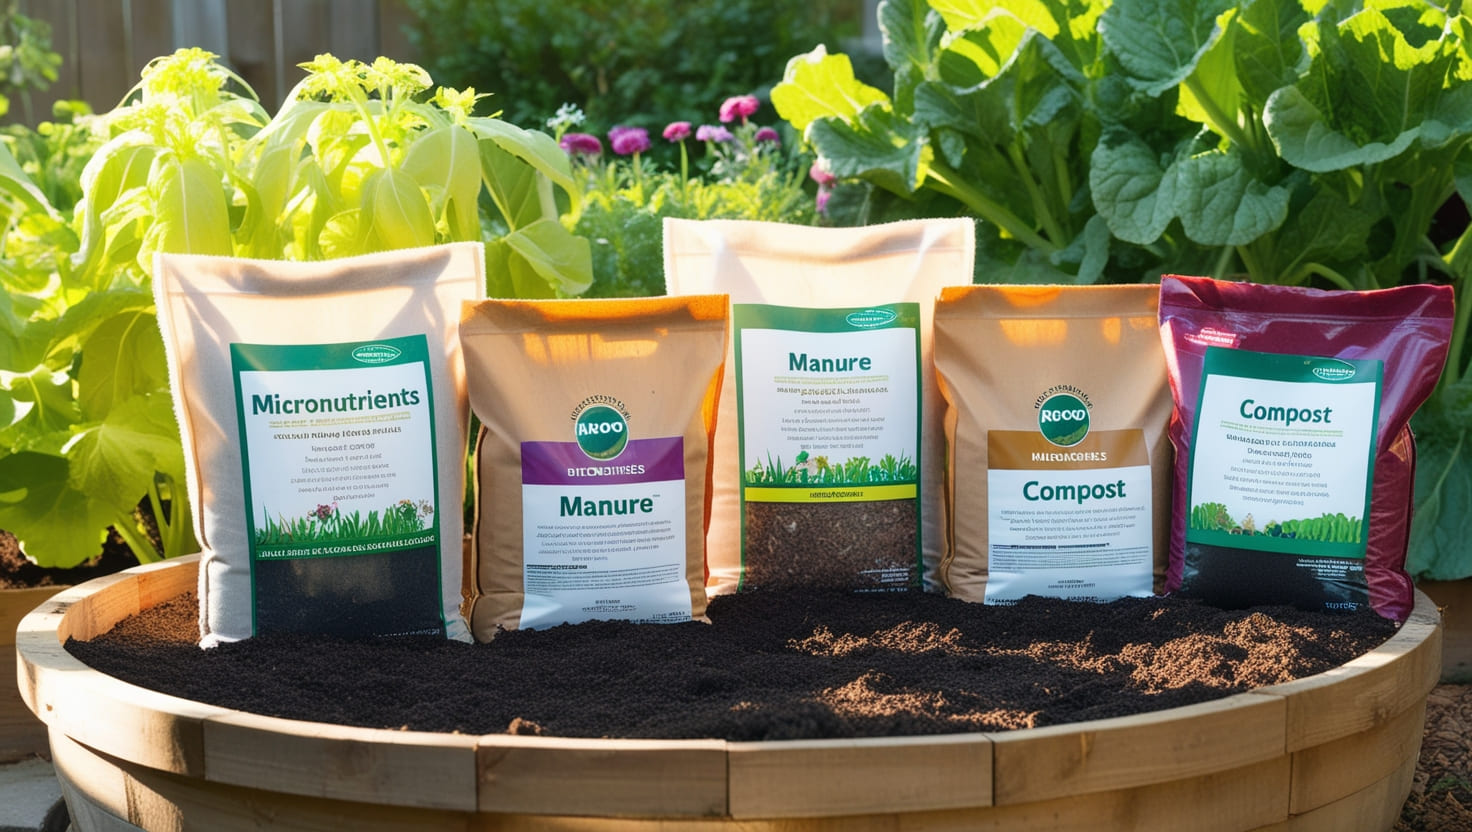
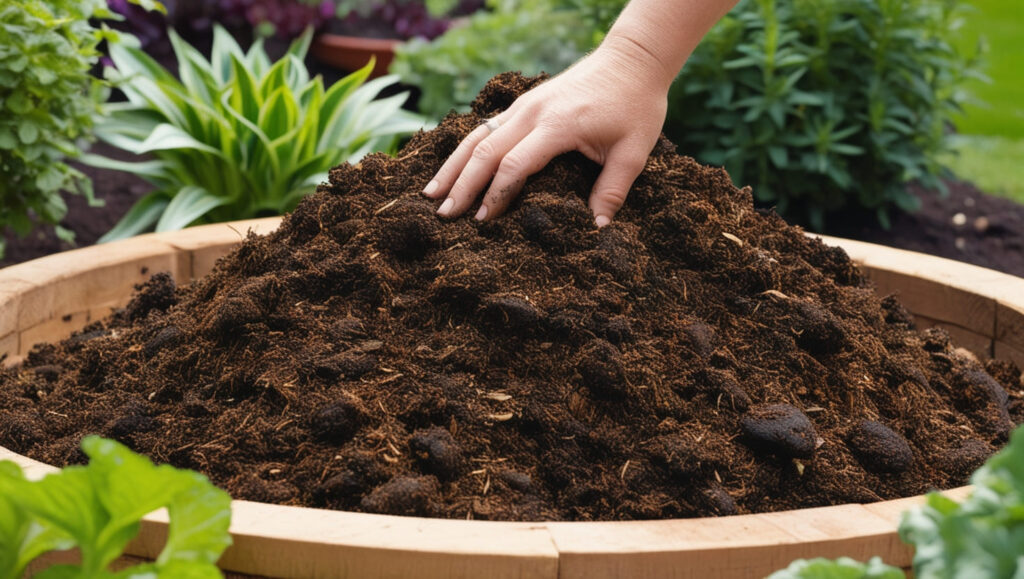
Manure is often touted as one of the best organic soil amendments. Although it has benefits, not all manure is created equal. If you’re not careful, you could be introducing harmful elements—like ammonia or salt—into your garden.
The Good, The Bad, and The Salty: Manure Overview
At face value, manure should be a no-brainer for anyone wanting to improve soil fertility. It’s packed with nutrients and beneficial microbes. But if it’s not prepared right, it can also bring some unwanted guests along for the ride—mainly ammonia and salt.
Ammonia toxicity is something to watch for, especially when applying chicken manure. Anyone who’s familiar with chickens knows that their manure is loaded with uric acid, a compound that turns into ammonia. This ammonia can do a lot of damage to your plants if you’re not careful. Also, high salt levels in fresh manure can cause problems, leading to salt burn where plant roots get “water-starved” due to the salt.
The Key: Fully Composted Manure
One of the easiest ways to avoid the risks of harmful ammonia and salt levels is to make sure manure is fully composted before applying it to your garden. When manure composts, water works to gradually leach out much of the harmful salts. On top of that, the composting process neutralizes much of the ammonia content.
How do you know when manure is ready for use? The simplest test: smell it. If it still smells like manure, it’s not composted yet. The fully composted stuff will have a rich, earthy smell, not the stench of a barnyard.
The Special Case of Chicken Manure
Chicken manure is a double-edged sword. On one hand, it’s highly beneficial because of its high nitrogen content. On the other hand, it contains up to 80% uric acid, leading to high ammonia production. This means chicken manure can really mess up your soil if you aren’t cautious.
Here are some tips to handle chicken manure safely:
- Dilution is key: If you’re using chicken manure, consider diluting it with a large volume of compost or other organic matter.
- Compost it: This is your safest bet to reduce its potency. Let the manure break down completely before adding it to the soil.
Manure is fantastic in the garden, but rushing can bring more problems than benefits. Whether from chickens, cows, or horses, composting is a must.
Why You Need to Do a Bioassay Test
No one wants to waste weeks or months of gardening effort only to find out their plants won’t grow – all because of some harmful compound in the soil. That’s where bioassay tests come in.
What Is a Bioassay Test?
A bioassay test may sound complex, but it’s basically a way to ensure that any soil amendment you plan to use—whether it’s compost, manure, or even bagged soil you’ve bought—is free of harmful chemicals or persistent herbicides that could harm your plants. You’re testing your soil or amendment to spot toxins or problems that might suppress germination or plant growth.
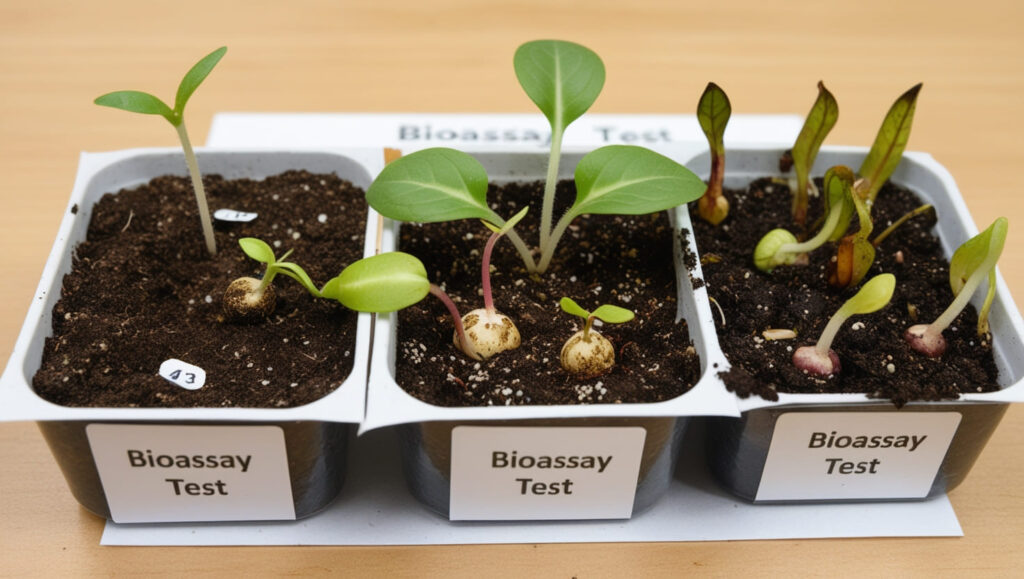
In a bioassay test, you’ll take a sample of your soil or amendment, plant seeds in it, and watch what happens. If the seeds don’t germinate properly or the seedlings are weak and discolored, that’s a red flag. You’ll know that adding this material to your entire garden could cause more harm than good.
Steps for Conducting a Bioassay Test
Here’s a quick rundown on how you can run a bioassay test:
- Get two small containers and fill one with the soil or amendment you plan to use. Fill the second one with a control (something you know works, like your regular garden soil).
- Plant seeds in both containers. A mix of monocots (like corn or wheat) and dicots (like beans or tomatoes) will give the best results.
- Monitor the rate of germination and how healthy the seedlings look. If anything seems off—like seeds not sprouting or seedlings that are weak and misshapen—the amendment may contain a toxic compound.
- Compare the results of the test container with the control container. If the germination rate is lower in the test batch and the plants look worse, that’s a problem.
Make sure to do this test yourself. While you might be tempted to trust the seller’s claims about the soil or compost being “clean,” taking the extra step can save you from heartache down the road. After all, nothing beats real, hands-on testing in your own garden.
Real-Life Example: Persistent Herbicides
One of the biggest issues gardeners run into is using compost or soil contaminated with persistent herbicides. These chemicals can stick around for a long time and prevent plants from growing properly. I’ve dealt with this myself, and I’ve seen other gardeners struggling with it, too.
A fellow YouTuber purchased compost full of herbicides, and it basically ruined her entire greenhouse. Her plants were stunted and disfigured. If she had just done a bioassay test first, she would’ve saved herself the headache. It’s a painful lesson, but it proves how important bioassay tests are in gardening.
Common Additives and Possible Risks
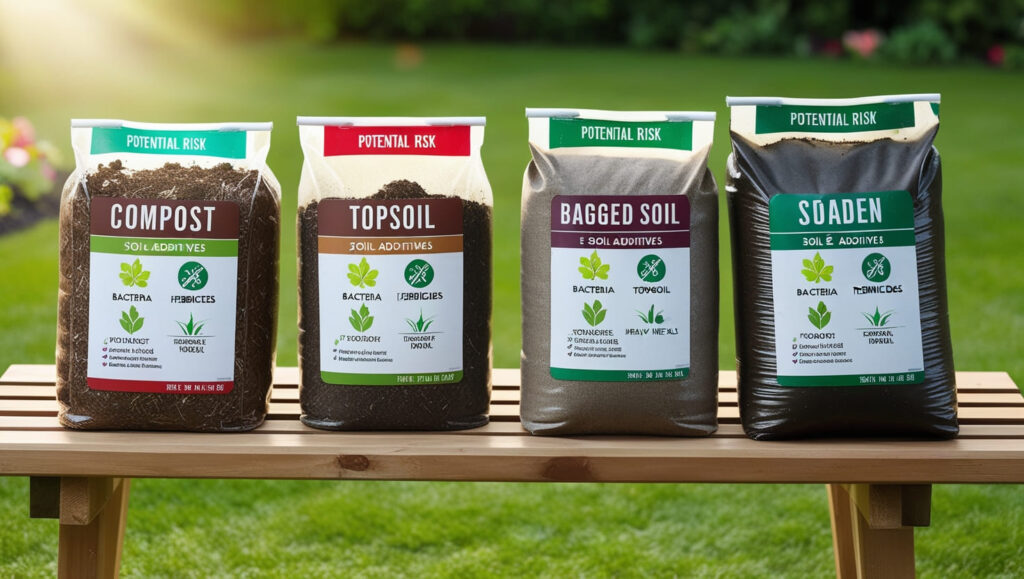
We all like that feeling of trying something new to boost our soil. However, many popular additives come with their own risks. Here’s a quick breakdown of some common ones:
- Compost: Not all compost is created equal. If it’s not fully broken down, it can introduce harmful bacteria, ammonia, or persistent herbicides into your garden.
- Topsoil: If you’re buying soil from an outside supplier, you never know what’s lurking inside. It could contain unwanted substances like heavy metals or persistent herbicides.
- Bagged Soil: Even premium bagged soils can sometimes be laced with toxins, or they might not be as nutrient-rich as they claim. A bioassay test is a good safeguard.
Keep in mind that harm to your plants isn’t always obvious at first. Sometimes additives build up in the soil over time, leading to problems down the line. An amendment might appear fine during the first season, only to cause stunted growth or poor germination later.
Practical Gardening Tips for Soil Health
While talking about avoiding certain soil amendments, I’d be remiss if I didn’t offer some actionable tips to help you make the right choices for your garden.
Dilution Can Save the Day
When in doubt, dilute. Whether you’re dealing with chicken manure or another potent additive, diluting it with compost or another organic material can minimize the risks.
Stick to Fully Composted Materials
Whether you’re using manure or compost, make sure it’s completely broken down before applying it to your soil. Fresh manure or unfinished compost can introduce toxins, harmful bacteria, and ammonia.
Fall Projects to Improve Soil Health
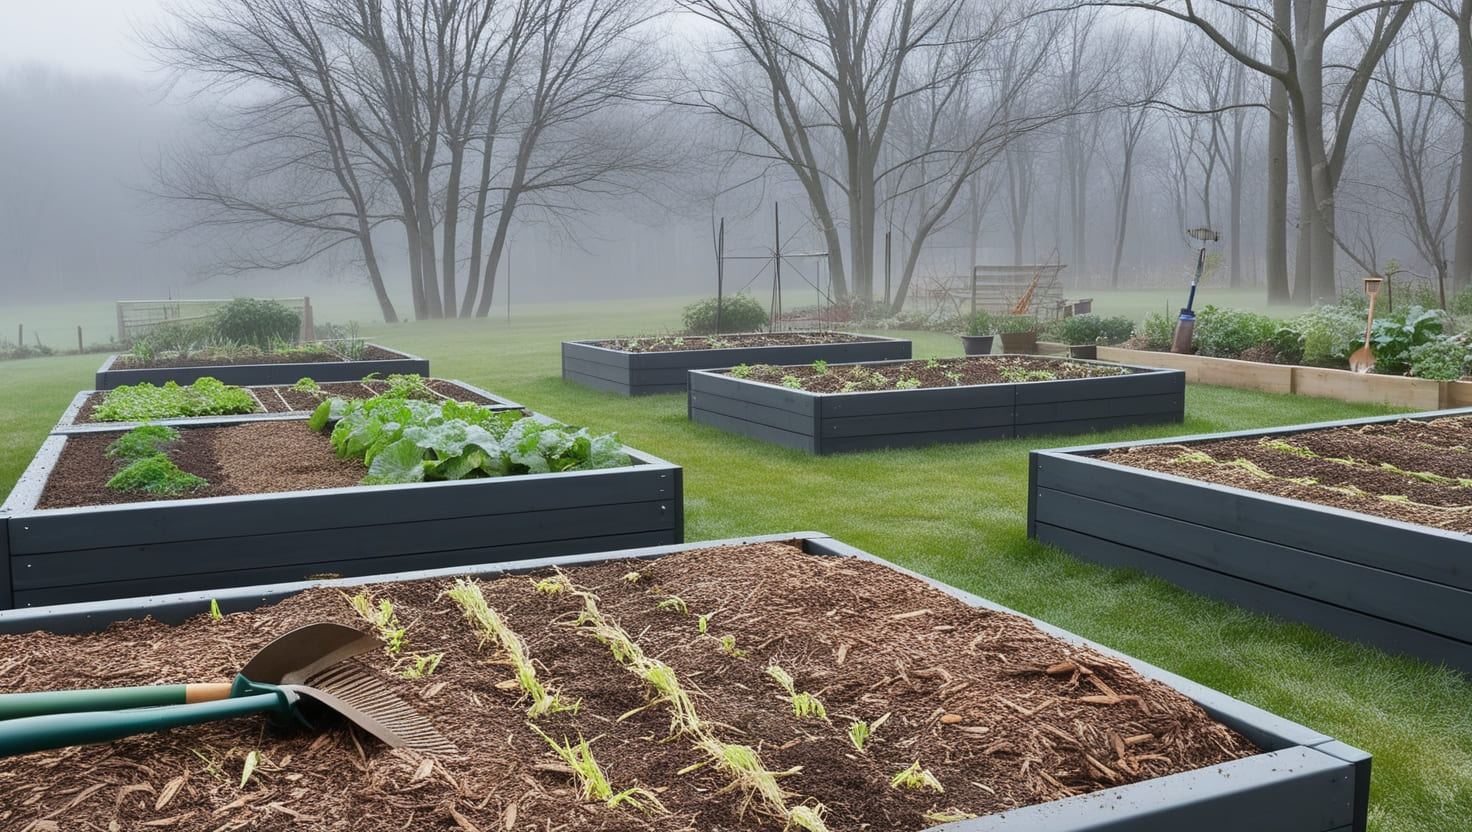
Fall is a great time to put in the work on your soil. Consider adding organic materials like leaf mulch or compost to help improve soil health for the next growing season. Not only will this strengthen your plants, but it also adds valuable nutrients to the soil naturally—without the need for risky amendments.
Final Takeaway: Be a Soil Scientist, Not Just a Gardener
If there’s one thing I’ve learned about gardening, it’s that you always have to be willing to experiment and learn. That means taking the time to test your soil amendments, avoiding the hype, and sticking to what works. By testing your soil and skipping these risky amendments, you’ll be well on your way to a healthier and more productive garden.
Want to dive deeper into preparing your soil for future plantings? Be sure to check out some of the projects you can start this fall, and remember that year-round soil care leads to long-term gardening success. Keep learning, keep testing, and happy gardening!
